How to install the rock wool sandwich panel correctly

If there is a deviation during the installation of the rock wool sandwich panel, the quality is prone to problems, causing indelible effects, and even the quality of the entire project will be implicated, so the installation step must be careful.
Preparations before installation
Before rock wool sandwich panel installation, we need to do some preparatory work to facilitate the smooth progress of the work.
Surface treatment of walls and roofs
Before the installation of rock wool sandwich panels, the surface of the wall or roof must be prepared. If the surface is new, then it should be checked for any unevenness or other imperfections that may require repair. The surface should also be cleaned in order to ensure that the adhesive or sealant will properly adhere.
If the wall or roof is old, then it must be checked for any water damage, mold, or other deterioration. Any affected areas must be repaired or replaced before the panels are installed. It is also important to ensure that the surface of the wall or roof is dry before the panels are installed, as any moisture can interfere with the adhesion of the adhesive or sealant.
Preparation of installation tools
Before getting started on the installation, make sure you have the following tools:
– Electric drill or driver
– Bits/Drill Bits
– Hammer
– Tape measure
– Level
– Chalk line
– Safety glasses
– Marker
– Power saw
– Pencil
Steps to Install a Rock Wool Sandwich Panel
Installation of rock wool sandwich panels can roughly take four steps to complete, please refer to the process.
Step 1: install the Rock Wool Sandwich Panels
Once the adhesive has dried, it is time to start installing the panels. Check that the panels fit correctly before beginning to install them. The panels should fit snugly against one another and should overlap slightly.
Start at one end of the wall, careful to push the corner pieces together tightly. Using a drill, secure the panel to the wall using screws or bolts, being sure not to apply excess pressure. It is also important to keep the panels level as you move across the wall.
Step 2: Install the Connectors
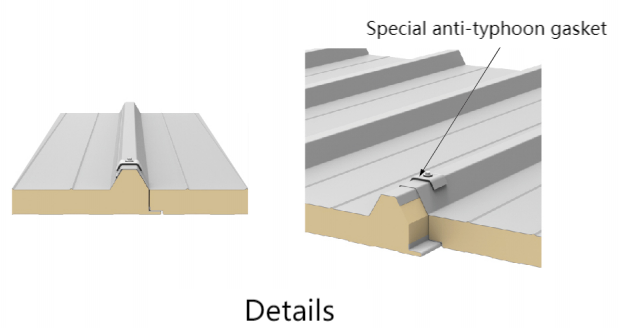
Installing the connectors is an important step and should be completed once the panels are in place. The connectors help connect the panels together and should be screwed or bolted into place.
It is important to ensure the connectors fit securely to prevent the panels from coming apart. If a particular connector does not fit, do not try to force it into place. Instead, select a different connector for a better fit.
Step 3: Seal the Edges
Before completing the installation, it is important to seal the edges of the rock wool sandwich panels. Sealing the edges will help prevent moisture from seeping inside and reducing the insulation’s effectiveness.
To seal the edges, select a sealant specifically designed for insulation panels and carefully apply it around the edges, making sure not to miss any spots. Allow the sealant to dry completely before continuing the installation.
Step 4: Attach Trim
Once the sealant has dried, it is time to attach the trim. The trim helps cover the panels and gives the wall a more polished and finished appearance.
To attach the trim, use a drill to secure the trim to the wall. It is important to ensure the trim is level and that the trim is securely attached to the panels.
Safety Considerations
When installing rock wool sandwich panels, there are a few safety considerations that must be kept in mind. First, the panels should be handled carefully to prevent injury. The panels are quite heavy, so it is important to have someone to help you lift and position them. Second, if any cutting or drilling is required to fit the panels, then safety goggles, gloves, and a face mask should be worn. This is to protect against any dust or debris that could be generated by the cutting or drilling process.
The installation of rock wool sandwich panels is a highly technical job, workers need a certain degree of construction experience and proficiency, and strict adherence to the process will result in a swift and quality-assured installation. This is what Solideck has learned from years of experience.